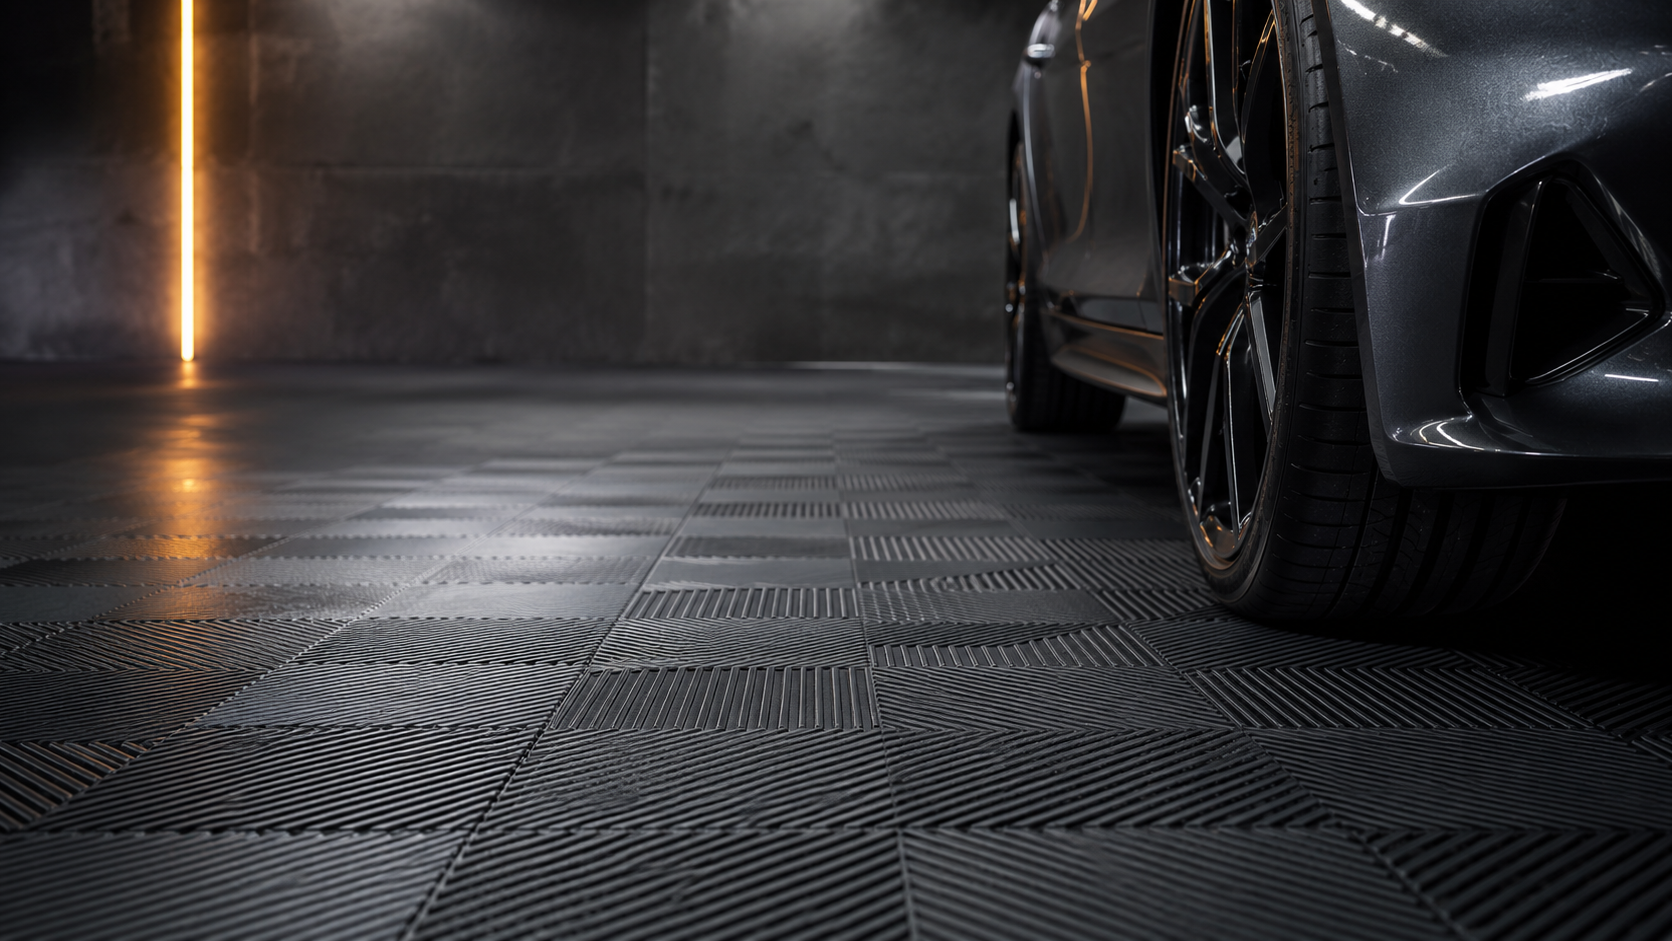
Garage floor tile buying guide
Upgrading a bare concrete garage to interlocking tiles is one of the cheaper wins in a workshop, but the choice hinges on a few specifications. This guide answers them in order: thickness, oil resistance, colour, and the edge and corner pieces that finish the border. We also cover the parts most buyers forget. That means slab preparation, drainage, point loads from a jack and how to measure so your order matches the floor.
What to look for in garage floor tiles
Garage floor tiles are plastic tiles that click and lock together over a level floor slab to create a washable, impact-resistant surface with no adhesive. They turn a dusty slab into a workshop floor in an afternoon.
The right tile balances four things for a garage: enough thickness to take the load, resistance to oil and impact, a colour that hides marks, and accessories that finish the edge safely.
One more factor decides whether any tile works: the slab beneath. The tile floats over the concrete, so the preparation under it matters as much as the tile itself.
Why interlocking tiles suit a garage
Interlocking tiles lock edge to edge and float as a single sheet. No adhesive, no fumes and no waiting for glue to cure before you park.
That floating layout is forgiving too. If one tile is ever damaged, you lift it out and click a replacement in rather than reworking the whole floor.
A floating floor copes with a concrete slab that shifts slightly with the seasons. The tiles move together instead of cracking the way a bonded covering can.
Interlocking tiles versus glued and painted floors
Glued rolls and epoxy paint bond to the slab. They look seamless but demand a clean, dry, crack-free surface and a long curing period.
Interlocking tiles skip all that. They lay straight over a sound slab, take traffic the same day and lift out again if you move or want to take the floor with you.
Paint and epoxy can also peel where hot tyres sit after a drive. A mechanical, floating tile floor avoids that hot-tyre lifting problem entirely.
Prepare the concrete slab first
A garage slab is rarely perfect. Before laying tiles, sweep it, then check for high spots, loose lumps and settled dust that stop the tiles sitting flat.
Knock down high points and fill deep hollows so the floor does not rock underfoot. Interlocking tiles tolerate minor unevenness, but a badly dished slab telegraphs through them.
Dealing with cracks and movement
Hairline cracks in a garage slab are normal and usually cosmetic. Tiles bridge them well because the floating layer spreads the load across many tiles.
Active, raised or growing cracks are different. Grind or fill the raised lip of the crack first so it does not push a tile up and spoil the flatness of the floor.
Moisture, damp and drainage
Ground-bearing concrete wicks moisture from below. A floating tile floor lets the slab breathe, and a ventilated tile pattern gives trapped water somewhere to go.
If your garage takes a wet car in winter, drainage matters more than looks. Open-grid or ventilated tiles let meltwater and wash water drain through to the slab instead of pooling on top.
For a garage with a known damp problem, fix the source first. No surface floor cures rising damp; it only manages the water that reaches the top of the slab.
How thick should garage tiles be
Thickness decides how much weight and impact the floor shrugs off. A garage that parks a car and holds tools needs a tile rated for vehicle loads and point loads, not a thin domestic mat.
Heavier use points to a thicker tile. Flexadur garage floor tiles are built for vehicle and workshop traffic, which is the load most home garages actually see.
For reference, Flexadur garage floor tiles measure 400 x 400 x 18 mm. That 18 mm body carries vehicle weight and absorbs the impact of a tool dropped on the slab.
Point loads from jacks and axle stands
A car spread across four tyres is a gentle load. A hydraulic jack or an axle stand concentrates that same weight onto a tiny footprint, and point loads are what test a floor.
Spread the load when you lift. Put a flat board or plate under the jack and under each axle stand so the force passes into several tiles, not one corner.
Thicker, denser tiles take concentrated loads better than thin mats. If you jack the car up regularly, treat point-load strength as a buying priority, not an afterthought.
Does oil resistance matter
Oil and brake fluid break down the wrong plastics over time. An oil-resistant tile wipes clean instead of staining or softening where the car drips.
Because a garage almost always meets oil at some point, oil resistance is closer to a requirement than a nice-to-have. Flexadur tiles are oil- and impact-resistant, so a drip is a wipe-up, not a stain.
Chemicals, tyre marks and hot tyres
A garage floor meets more than engine oil. Coolant, screenwash, fuel spots and battery acid all land on it at some point, so a resistant surface saves the slab underneath.
Tyre marks are a different problem. Warm tyres can leave dark scuffs, which is one reason a darker tile is the practical choice for most garages.
Hot-tyre lifting, where a coating peels under a warm tyre, does not affect a mechanical interlocking tile. The tile is not glued down, so a hot tyre has nothing to peel.
Temperature, freeze-thaw and the seasons
An unheated garage swings from freezing to warm and back. A good garage tile stays usable in the cold and does not turn brittle through a hard winter.
Plastic tiles handle freeze-thaw better than a bonded covering, which can lift as the slab expands and contracts. The floating layout simply moves with the seasons.
Leave a small expansion gap at the walls. Tiles need room to grow slightly in summer heat, and a tight wall-to-wall fit can buckle the field.
Which colour to choose
Colour is mostly practical: a darker floor hides tyre marks and oil between cleans. Flexadur garage tiles come in black, grey and red, so you can mix a border colour or keep it uniform.
Using colour to zone the floor
Colour is a layout tool too. A red border around a black field marks a walkway, a work bay or a boundary where the car should stop.
Grey looks clean and shows dropped parts clearly, which suits a detailing or assembly bay. Black hides the most dirt, so it is the easy default for a working garage.
Mixing two colours costs no extra effort, because every variant clicks together the same way. Plan the pattern before ordering so the numbers come out right.
How to measure and plan the order
Measure the garage in metres, length times width, to get the floor area. Sketch the shape and note any pillar, step or door swing the tiles must work around.
Each Flexadur garage tile covers 400 x 400 mm, so roughly six tiles cover one square metre. Multiply your area to get the tile count for the field before adding for waste.
Adding for cuts and waste
Tiles along the walls usually need cutting to fit. Add a sensible surplus on top of the bare area so cut pieces and offcuts are covered.
Round the total up, never down. Ordering short stalls the job halfway, while a few spare tiles cover future damage or a layout change.
Counting edge and corner pieces
Count edge pieces by the length of the exposed straight runs, not the whole perimeter. Walls and the door threshold may not all need a ramp.
You need one corner piece at every outside corner where two ramped runs meet. For a simple rectangular bay with two open sides, plan corners where those runs actually turn.
Installing the tiles step by step
Start in a corner and work across the floor, clicking each tile into the last. Most layouts flow best perpendicular to the longest wall so the cut row lands at the back.
- Sweep and prepare the slab, then dry-lay a few rows to check the fit.
- Lock the field tiles together, tapping the joints home with a rubber mallet.
- Cut the wall row to fit, leaving a small expansion gap at the edge.
- Add edge pieces along the exposed straight runs.
- Close each outside corner with a corner piece.
Work in good light and check for flatness as you go. A joint that sits proud now is easy to seat; left alone, it becomes a trip point later.
Maintaining a tiled garage floor
Day to day, a tiled garage floor asks for almost nothing. Sweep away grit so it does not grind underfoot, and wipe up spills before they spread.
For a deeper clean, mop or hose the floor and let ventilated tiles drain through to the slab. Avoid harsh solvents that can attack the plastic; warm water and a mild detergent handle most garage grime.
Once a year, lift the odd tile to check the slab stays dry underneath. If a single tile ever takes a hard scrape, replace that one tile rather than patching the surface.
Why edge and corner pieces matter
Bare tiles leave a raised lip at the perimeter that catches trolley wheels and toes. Edge pieces ramp that lip down along the straight sections, and corner pieces close the bevel where two runs meet.
Adding edge and corner pieces turns a tiled rectangle into a finished floor. Both accessories are colour-matched to the tiles.
Where each accessory goes
Edge pieces run along every open straight section where the floor meets a doorway, a walkway or open space. They ramp the 18 mm step down so a trolley or jack rolls over without a jolt.
Corner pieces sit at the outside corners where two ramped edges turn. They keep the ramped border continuous so there is no gap or snag where the runs meet.
Skip the accessories at the wall. A tile that butts against a wall has no exposed edge, so save the edge and corner pieces for the open sides people and trolleys actually cross.
Garage floor components compared
| Component | Role | Strengths | Watch out for |
|---|---|---|---|
| Garage floor tiles | Main floor surface | Oil- and impact-resistant; installs over concrete in minutes; three colours; 400 x 400 x 18 mm | Needs a reasonably flat base; minimum order quantity 6 pcs |
| Garage tile edge pieces | Perimeter ramp (straight sections) | Remove the trip lip at the perimeter; colour-matched | Accessory only, needs tiles; exact dimensions to confirm |
| Garage tile corner pieces | Perimeter ramp (corners) | Finish the bevelled border at corners; colour-matched | Accessory only, needs tiles; exact dimensions to confirm |
Recommended garage flooring

Garage floor tiles
At 400 x 400 x 18 mm, each tile carries vehicle traffic and…
€3.95 incl. VAT
€3.16 excl. VAT

Garage tile edge pieces
Use it on the open sides that a trolley or jack crosses.…
€1.50 incl. VAT
€1.20 excl. VAT
Garage tile corner pieces
Place one at every outside corner so the ramped border…
€2.00 incl. VAT
€1.60 excl. VAT
Where to buy the range
Browse every garage option, including the tiles and their matching accessories, in one place. Garage flooring The tiles, edge pieces and corner pieces all share the black, grey and red palette. Buying together keeps the border colour consistent and the order simple.
Frequently asked questions about garage flooring
Can I lay garage floor tiles over old concrete?
Yes. Interlocking tiles lay straight over a reasonably flat concrete slab in minutes, with no adhesive needed.
Do I need edge and corner pieces?
Use edge pieces along exposed straight runs and a corner piece at every outside corner. They ramp the tile lip down so the perimeter is not a trip hazard.
How many tiles should I order?
Measure your floor area and order accordingly; the minimum order quantity is 6 pcs. Round up so the cut tiles along the walls are covered.
What size are the garage floor tiles?
Each tile is 400 x 400 x 18 mm. That works out to roughly six tiles per square metre before you add a cutting surplus.
Do the tiles need glue or screws?
No. They click together and float over the slab, so there is no adhesive, no drilling and no curing time before you park.
Will the floor take a car jack?
Yes, with care. Spread the load by placing a board under the jack and each axle stand so the point load passes into several tiles.
Can I use these tiles in an unheated garage?
Yes. The floating layout copes with freeze-thaw, and a small expansion gap at the walls gives the tiles room to move with the seasons.
How do I clean a tiled garage floor?
Sweep away grit, wipe up spills and mop or hose for a deeper clean. Ventilated tiles drain through to the slab, so water does not pool on top.
Which colour is best for a garage?
A darker tile hides tyre marks and oil between cleans. Black, grey and red are all available, so mix a border or keep one colour throughout.